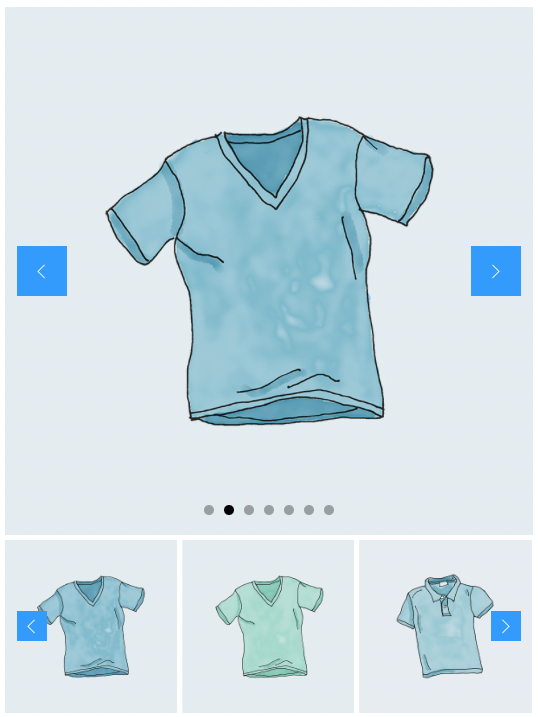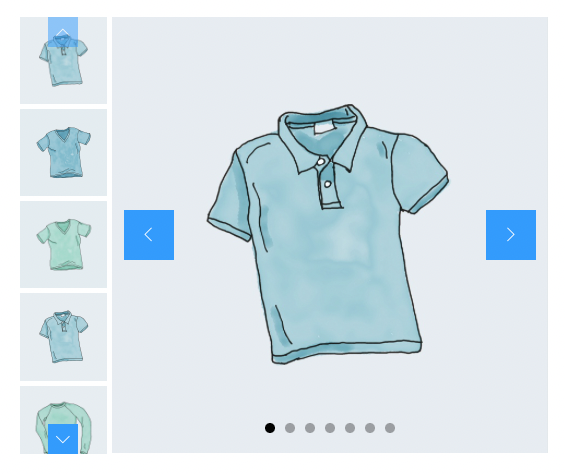

In this post, I shall show you how you will create the product gallery slider with the bricks’ native nested slider element. Bricks introduced the loop builder and you can use the loop builder in the nested slider element.
BricksUltimate created a custom loop builder “Product Galleries” which is fetching the WooCommerce product’s gallery images and displays at the frontend.
Before making the slider, make sure that you enabled the Image Attachment element from the Bricks -> BricksUltimate -> General Elements tab.
Step 1: Add the section/container/block element as a wrapper
Step 2: Add the Nested Slider element inside the wrapper and remove slides 2 and 3 from the nested slider element.
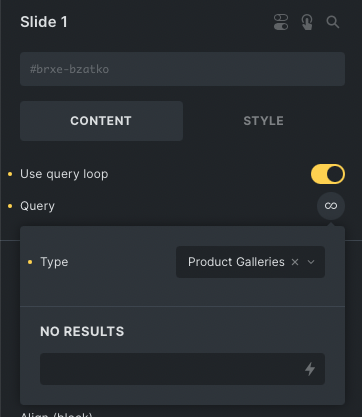
Step 3: Select “Slide 1” and enable the Use Query Loop option. Click on the Query and you will get the popup. Select “Product Galleries” from the Type dropdown.

Step 4: Add the Image Attachment element inside the Slide 1 wrapper.
Step 5: Adjust the slider options and controls as per your requirement.
Step 6: You can add the thumbnail slider below the main slider (bigger one) and sync it with the help of this tutorial.
Conditionally Display The Thumbs
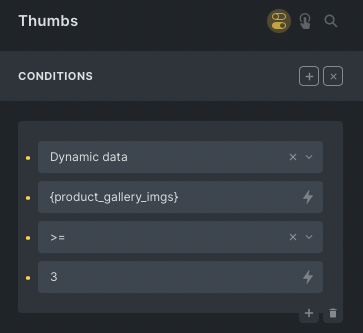
You can conditionally show the thumbs gallery slider. If a product has one or two image(s) and does not want the thumbs slider, you can set up the condition and hide it. There has a dynamic tag {product_gallery_imgs}.

2 comments
Sai Bharath
I wanted to create a gallery similar to this module for a listing website, can i use product gallery for the use case?
BricksUltimate
Yes. You will use two nested slider elements and sync them.