Text input
Single-line custom text. Example: engraved name.
Complete user guide
Install, configure, and manage WooCommerce product add-ons, flexible pricing, visual swatches, product bundles, recipient addresses, customer consent, and order-ready customization data.
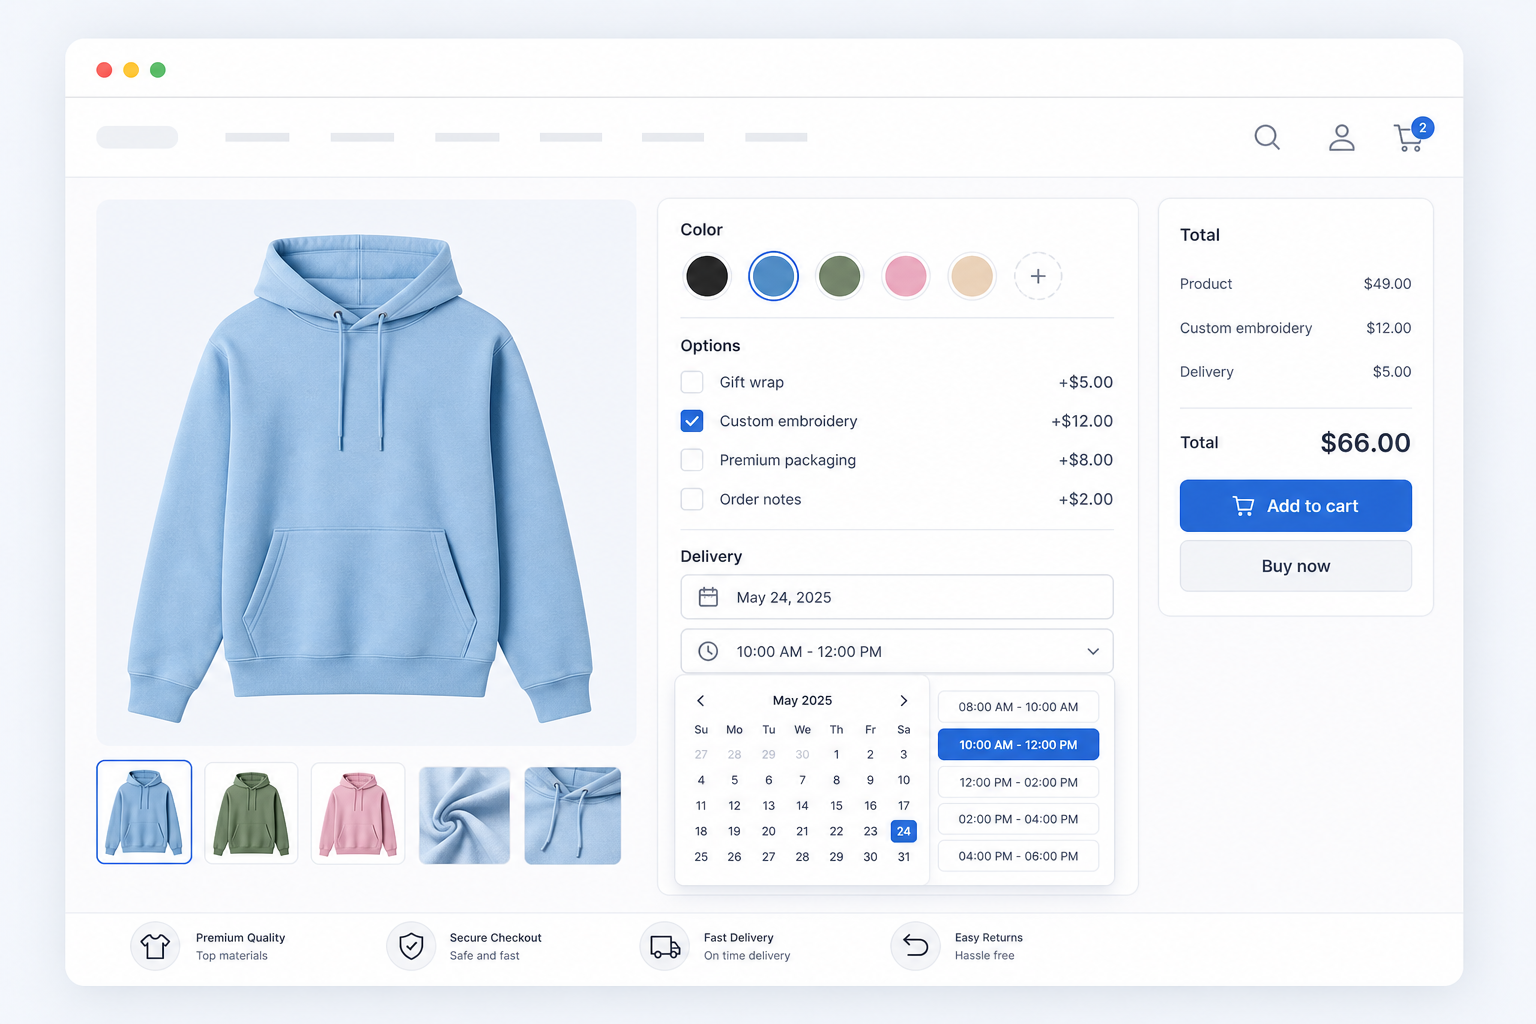
What the plugin does: It adds advanced product customization fields to WooCommerce, calculates add-on pricing live, and carries the customer selections into cart, checkout, orders, and emails.
Try a field name, feature, or setup term such as bundle, pricing, address, or import.
Step 01
After activation, you will see the Ultimate Addons menu in the WordPress dashboard.
Step 02
The license key is stored encrypted in the database when encryption is available on the server.
Step 03
Global Groups are reusable add-on groups. Use them when the same options should appear on many products, such as gift wrap, delivery date, color choices, custom text, uploads, or measurement fields.
Step 04
Product-level add-ons are best when one product needs its own custom options. When product-level add-ons are enabled, they replace matching global add-ons for that product.
Reference
Choose the field type based on what the customer needs to provide or select.
Single-line custom text. Example: engraved name.
Validated email input with an email keyboard and autocomplete. Example: gift recipient or digital delivery email.
Validated international-friendly phone input. Example: callback or delivery contact number.
Validated HTTP or HTTPS website address. Example: social profile, reference page, or inspiration URL.
Longer message or notes. Example: gift message.
Grouped recipient name, street, city, state, ZIP/postal code, and country inputs. Example: a gift delivery destination.
Required acceptance with optional linked terms. Example: proof approval, custom-order terms, or a no-refund agreement.
Numeric input. Example: number of labels or extra pieces.
One or more extra choices. Example: gift wrap and priority handling.
One choice from a visible list. Example: standard or premium packaging.
One choice in a compact dropdown. Example: product size.
Multiple values in one field. Example: pizza toppings.
Visual color choices with modern layouts. Example: fabric color.
Image-based choices. Example: texture, finish, material, or style.
Let customers choose one or more real WooCommerce products as an add-on, using product card or full-width layouts.
Add real products or variations as linked bundle cart items with configurable layout, price, quantity, and stock behavior.
Customer file attachment. Example: artwork or logo upload.
Calendar date selection. Example: delivery or pickup date.
Time slot selection. Example: appointment or pickup time.
Informational text inside the form. Example: section instructions.
Custom content block for richer instructions or notices.
Width, height, and length inputs with area or volume pricing. Example: custom blinds, glass, prints, or fabric.
Quantity selector for add-on choices. Example: add matching accessories.
Row and column pricing table. Example: size by quantity range pricing.
Field setup
The Product Bundle Add-On field adds selected WooCommerce products or variations as real linked cart rows. Use it for accessories, optional upgrades, starter kits, replacement parts, or products sold at a special bundle price.
Customers can select multiple bundle products. Cards include the product image, name, calculated bundle price, and stock state.
Customers choose one bundle product. Use radio buttons for visible comparison or a select dropdown for a compact layout.
Use the WooCommerce product price automatically, or replace it with the exact bundle item price you enter.
Subtract a fixed amount, apply a percentage discount, or include the selected bundle item at no charge.
Bundle selections are real WooCommerce cart items, so WooCommerce can retain their product or variation identity, stock behavior, quantity, price, and order line details. Do not select the main product itself as one of its own bundle items.
Field setup
The Address field keeps a complete address together inside one add-on field. It is useful when the product should be sent to a gift recipient, event venue, installation address, or another destination that differs from the WooCommerce billing and shipping address.
The person or business receiving the product.
The full street and building address, displayed across the wider row.
Separate locality and state/province inputs with browser address autocomplete support.
Dedicated postal code and country inputs complete the destination.
When Required is enabled, all six address inputs must be completed. The formatted address travels through AJAX add-to-cart, cart, checkout, order details, WooCommerce emails, and the admin order editor.
Field setup
The Terms / consent checkbox is an acceptance field for proof approvals, personalized-order terms, production confirmations, or no-refund agreements. It can include a direct link to a page or document the customer should review.
Use a field label that identifies what was accepted. The field records acceptance with the WooCommerce order, but your store should still use terms and policies appropriate for its legal requirements.
Reference
Enable pricing on a field when the customer choice should change the product price.
No extra charge. Example: choose a free color.
Add one fixed amount. Example: gift wrap +$5.
Add a fixed price for the selected quantity. Example: extra item quantity.
Add a percentage of the base product price. Example: insurance +10%.
Charge by character count. Example: engraving at $0.20 per character.
Charge by word count. Example: custom printed message per word.
Charge when a file is attached. Example: artwork setup fee.
Multiply the rate by area or volume. Example: width x height x $2.
Use a configured value as the field price. Example: setup fee for a selected range.
Subtract an amount. Example: pickup discount -$3.
For choice fields, option prices can also be added per option, such as Small free, Large +$10, XL +$18.
Backup and migration
The Import / Export tab helps agencies, store owners, and staging/live workflows move complete add-on setups between WordPress sites. Use JSON for real backup and restore work, and CSV when you want a readable review file for clients, teammates, or spreadsheet audits.
Use Download JSON Backup to export global groups, product-specific groups, plugin settings, and design settings in one portable file. This is the best option before changing a live store or moving from staging to production.
Use Download CSV Review when you need a spreadsheet-friendly audit of groups, fields, field types, required status, pricing mode, price, conditions, and product/category assignments.
Upload a JSON backup, preview it, choose the import sections and import mode, then run the import. The plugin will report what was imported, updated, skipped, missing, or remapped.
Image swatch URLs are preserved by default. You can also choose to download remote image swatches into the local WordPress Media Library and remap the imported image URLs.
Exports plugin settings, global add-on groups, product-specific add-ons, and design settings in one JSON file.
Exports every reusable global group, including group details, assignments, fields, prices, defaults, conditions, measurements, and swatch URLs.
Choose only the global groups you want to move or share with another site.
Exports add-ons saved directly inside one product editor, useful for duplicating a custom product setup.
Exports enabled status, frontend position, separate line item mode, pricing labels, and stylesheet settings.
Exports Design tab styling values and label-related design configuration.
Add imported groups to the current setup while keeping existing groups.
Replace the selected import sections with the data from the backup. Use this for full restore workflows.
Create imported groups as new copies, useful when testing or duplicating a setup without overwriting existing groups.
Skip groups that appear to already exist by matching group names or internal IDs.
Update existing matching groups instead of creating new copies.
Always click Preview Import before running an import. The preview shows the number of groups, fields, product-specific add-on sets, image URLs, missing products, missing categories, and possible conflicts.
JSON is the correct format for backup, restore, and migration. CSV is for review only and should not be used as a restore file.
Manual orders
Admin-selected add-ons are stored as order item meta, so they can appear in order details, customer account pages, and WooCommerce emails.
Design and compatibility
Use Ultimate Addons > Design to style the frontend wrapper, groups, labels, descriptions, inputs, choices, color swatches, image swatches, measurement fields, pricing rows, and grand total. The preview stays sticky while you scroll.
In General settings, you can disable the plugin frontend stylesheet when you want to build the design completely from your theme, ACSS, or custom CSS.
The plugin registers customer-facing strings for popular translation plugins, including group labels, field labels, options, measurement labels, pricing labels, cart details, and order meta.
Use conditional logic to show fields only when other fields match a value, contain text, are filled, are empty, or match number rules. Use all-rules or any-rule matching.